On my blog you can find a big bunch of tutorials and guides related to Mule ESB tool. As you know, we can deploy our application using Anypoint Studio but to be honest – I don’t like that way, because on production we should work only with code (what we love, am I right?). So, In this tutorial I will show you how to start a standalone mule runtime and I will implement simple service with domain module (all this will only happen in code).
So let’s do this:
- You need to download Mule Runtime Server from official website. Here we will mainly work with version 3.9.0 – remember that there must be a community version)
- Extract downloaded package in your directory on your local machine and move to this directory
- Run mule esb application by execute the following command from terminal:
./bin/muleOf course, you can also go to the bin directory first and then execute shorter command but I’d prefer the first option. Mule esb machine will get installed and deployed locally after executing command.
INFO  2021-09-07 14:48:04,332 [WrapperListener_start_runner] org.mule.module.launcher.coreextension.DefaultMuleCoreExtensionManager: Initializing core extensions
INFO  2021-09-07 14:48:04,332 [WrapperListener_start_runner] org.mule.module.launcher.coreextension.DefaultMuleCoreExtensionManager: Starting core extensions
INFO  2021-09-07 14:48:04,336 [WrapperListener_start_runner] org.mule.module.launcher.DefaultArchiveDeployer: ================== New Exploded Artifact: default
INFO  2021-09-07 14:48:04,341 [WrapperListener_start_runner] org.mule.module.launcher.MuleSharedDomainClassLoader: Using domain dir /home/oskarro/mule/domains/default for domain default
INFO  2021-09-07 14:48:04,429 [WrapperListener_start_runner] org.mule.module.launcher.MuleDeploymentService:
**********************************************************************
* Started domain 'default'                                           *
**********************************************************************
INFO  2021-09-07 14:48:04,433 [WrapperListener_start_runner] org.mule.module.launcher.ParallelDeploymentDirectoryWatcher:
++++++++++++++++++++++++++++++++++++++++++++++++++++++++++++
+ Mule is up and kicking (every 5000ms)                    +
++++++++++++++++++++++++++++++++++++++++++++++++++++++++++++
INFO  2021-09-07 14:48:04,440 [WrapperListener_start_runner] org.mule.module.launcher.StartupSummaryDeploymentListener:
**********************************************************************
*              - - + DOMAIN + - -               * - - + STATUS + - - *
**********************************************************************
* default                                       * DEPLOYED           *
**********************************************************************
The downloaded package will always contain an empty default folder which is inside the domains folder. The presence of this folder is required to run the application. In the „domains” folder, we will later place a package of the main application domain, which will integrate all services and share common data with them. If you have launched the application, it is very good. However, it is worth understanding what the MULE in this package provides us with.
- „/apps” – the folder where we will keep all mule services
- „/bin” – In this directory we can find all scripts and files which are responsible for running mule. Generally, Mule uses the Java Service Wrapper to control JVM from operating system
- „/conf” – the folder contains various types of configuration files and files containing variables (which can be used in services or connectors)
- „/docs” – API documentation (Javadoc) for Mule and its sub-projects
- „/domains” – contains shared resources with domain
- „/lib” – all mule libraries and files importing by user
- /lib/boot – libraries used by the Java Service Wrapper to boot the server
- /lib/mule – mule libraries
- /lib/opt – third-party libraries
- /lib/user – Your custom classes and libraries. This directory comes before lib/mule on the classpath and can be used to patch the distributed Mule classes. You must restart Mule after adding files to this directory.
- „/logs” – it stores all log files from services and domain
- „/src” – The source code for all Mule modules
Mule uses the MULE_HOME environment variable to point to the location of your Mule installation. It is good practice to set this variable in your environment. However, if it is not set at startup, Mule will temporarily set it based on the location of the startup script.
You may also want to add the MULE_HOME/bin directory to your path. If you are using Windows, you can use the System utility in the Control Panel to add the MULE_HOME variable and edit your path. Alternatively, you can use the export or set commands (depending on your operating system) at the command prompt, as shown in the following examples:
Linux/Unix:
    export MULE_HOME=/opt/mule
    export PATH=$PATH:$MULE_HOME/bin

Windows:
    set MULE_HOME=C:\Mule
    set PATH=%PATH%;%MULE_HOME%\bin
BUILDING APPLICATION
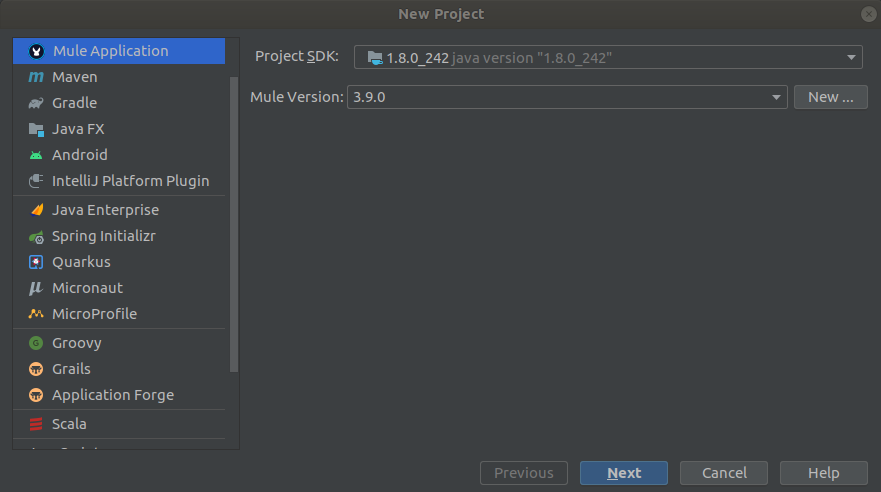
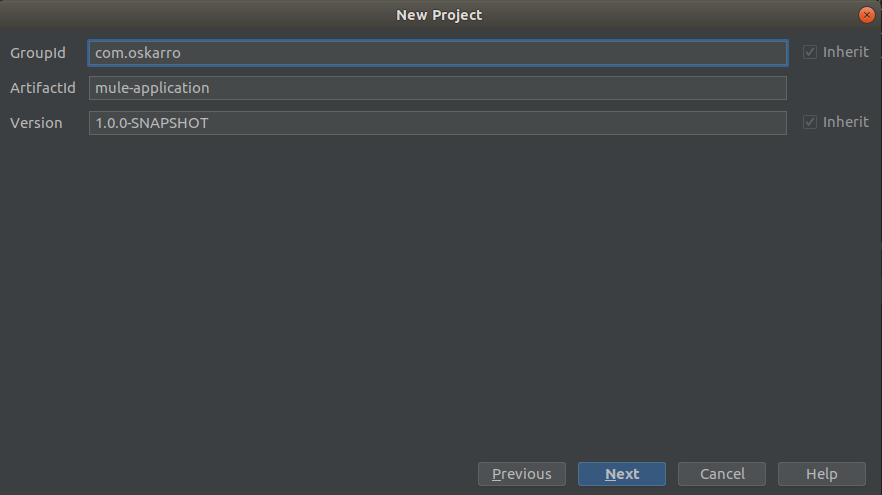
We have a local work environment ready. Now is the time to implement something new – which will be ours. We will be building an application composed of three modules – two of them will be separate services, while the third module is a domain module. It will all be closed in one project, and the packages will be delivered to the mule machine. First, let’s create a new project from scratch using our IDE (I will be using IntelliJ).
It is really good to have esb plugin for intellij. (https://plugins.jetbrains.com/plugin/8212-mule-esb-plugin-for-intellij)


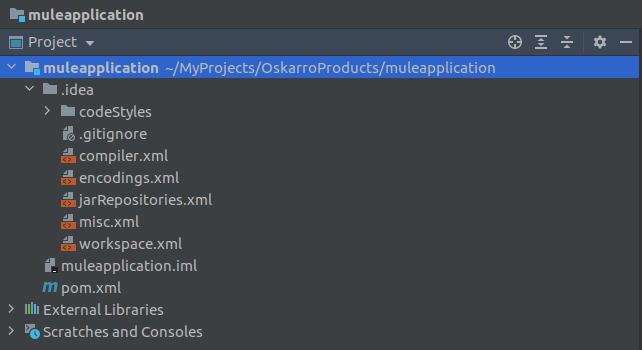
After generating the entire project, we will have to gently refactor our application. By default, IntelliJ will always create a commercial configuration (enterprise version). First, our initial project structure should start with :

Second, we need to deal with the main .pom file, which contains package dependencies and defined plugins. Dependencies on packages associated with the enterprise version need to be removed. Moreover, for version 3.9.0 we need to explicitly define the version of maven plugins that will build our environment (libraries shown in the code below). Additionally, we will remove plugins and dependencies from Munit library, because for community version tests are very poorly supported.
<plugin>
    <groupId>org.apache.maven.plugins</groupId>
    <artifactId>maven-install-plugin</artifactId>
    <version>2.5.2</version>
</plugin>
<plugin>
    <groupId>org.apache.maven.plugins</groupId>
    <artifactId>maven-deploy-plugin</artifactId>
    <version>2.8.2</version>
</plugin>
What is also very important – in the main directory projects you should change packaging type in pom.xml file, because it specifies the type of artifact the project produces. Because of the isolation of separate modules, the packaging mode must be set to pom
<modelVersion>4.0.0</
<groupId>com.oskarro</>
<artifactId>mule-application</artifactId>
<version>1.0.0-SNAPSHOT</version>
<packaging>pom</packaging>
<name>Mule tutorial application</name>
CREATING DOMAIN
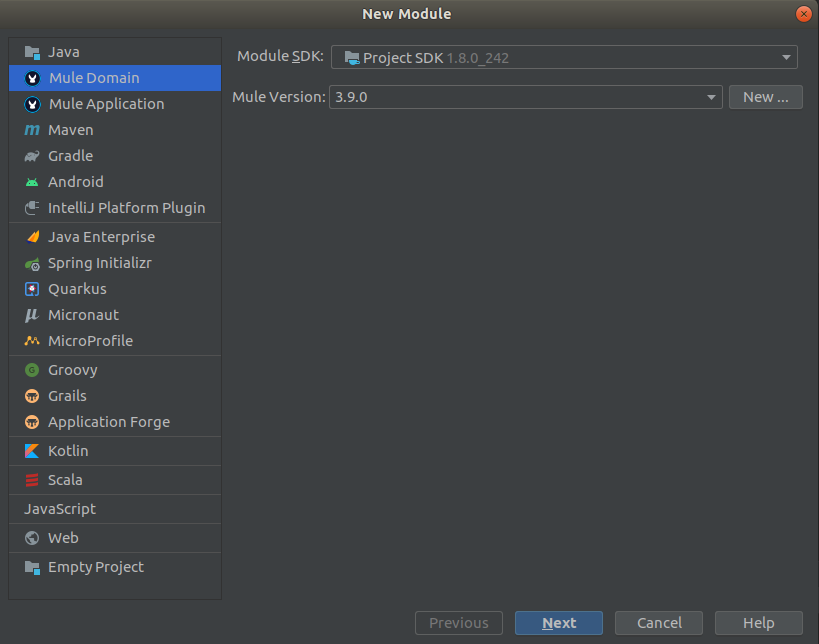
At the beginning of this tutorial, we started the mule machine using the default (actually empty) domain implementation. Now we will create a module that will be the basis of the entire application that I am writing about today. Let’s start by creating a domain module using IntelliJ.

The pom.xml file generated for the domain module by the intellij plugin is much smaller and we don’t need to change anything there. However, the significant difference in this case is the packaging type of the module
<packaging>mule-domain</packaging>Same as in the case, check the contents of the xml file (the file is in the project in domain folder and may be named mule-domain-config.xml). If you find any dependencies to the EE version, replace it with community version. For example these lines:
xmlns:domain="http://www.mulesoft.org/schema/mule/ee/domain"
xsi:schemaLocation="http://www.mulesoft.org/schema/mule/ee/domain http://www.mulesoft.org/schema/mule/ee/domain/current/mule-domain-ee.xsd"
Replace with that:
xmlns:domain="http://www.mulesoft.org/schema/mule/domain"
http://www.mulesoft.org/schema/mule/domain http://www.mulesoft.org/schema/mule/domain/current/mule-domain.xsd
After adding this module, we can build it, and then add the created package to the domain folder of the place where the „default” folder was previously empty (in the „domains” directory). Remember that if the built package has a different name (e.g. containing a version type) then it has to be changed to domain.zip Usually, if the destination path mule esb matches the location of this package, then right after building the module this package should appear in the appropriate folder. If not, you have to move the package manually.

If the package is already in the „domain” folder, try run mule environment.
**********************************************************************
* Started domain 'domain'                                            *
**********************************************************************
INFO  2021-09-07 19:39:13,323 [WrapperListener_start_runner] org.mule.module.launcher.ParallelDeploymentDirectoryWatcher:
++++++++++++++++++++++++++++++++++++++++++++++++++++++++++++
+ Mule is up and kicking (every 5000ms)                    +
++++++++++++++++++++++++++++++++++++++++++++++++++++++++++++
INFO  2021-09-07 19:39:13,331 [WrapperListener_start_runner] org.mule.module.launcher.StartupSummaryDeploymentListener:
**********************************************************************
*              - - + DOMAIN + - -               * - - + STATUS + - - *
**********************************************************************
* domain                                        * DEPLOYED           *
**********************************************************************
Anypoint Connector DevKit 3.9 is the latest version of DevKit, offering connector end user support in a few aspects of Mule app design in Studio. Requirements and suggestions for writing connector code using DevKit have not changed since version 3.9.
In the next part of the guide, we will deal with the implementation of our own services with mule esb.
If you have any questions, feel free to write in the comment – we will definitely come up with something 🙂
